Image burning and Power on
Image burning
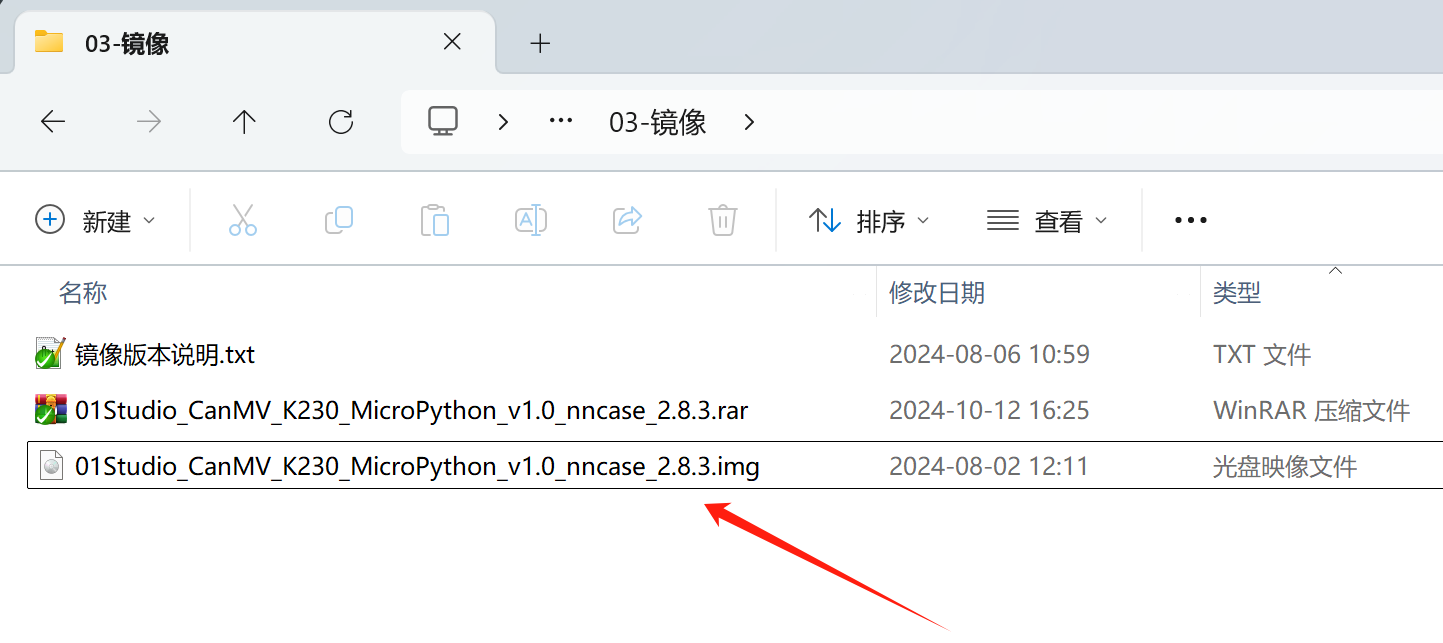
01Studio CanMV K230 development board uses SD card with image to boot. Users can get new functions by burning new image. The image file is located at 01Studio MicroPython Develop Kits (Base on CanMV K230) Resources_2024-11-8\03-Firmware & Image folder。
(The data package is a rar compressed package by default. You need to decompress it yourself and use the image file ending with .img.)
01Studio CanMV K230 online tutorial is used with the image. Please use the image version provided in our data package. The nncase_2.8.3 in the image name refers to the nncase version used by the current image, which may be used in some occasions such as online training.

Connect the MicroSD card to your computer via a card reader:

Open the image burning tool of the data package. The rufus burning tool is located at: 01Studio MicroPython Develop Kits (Base on CanMV K230) Resources_2024-11-8\01-Tools\01-Windows\image burn tool folder:

Check the corresponding USB drive letter, then select the .img image file and click Start:

After the programming is completed, it will be shown as follows:

Power on
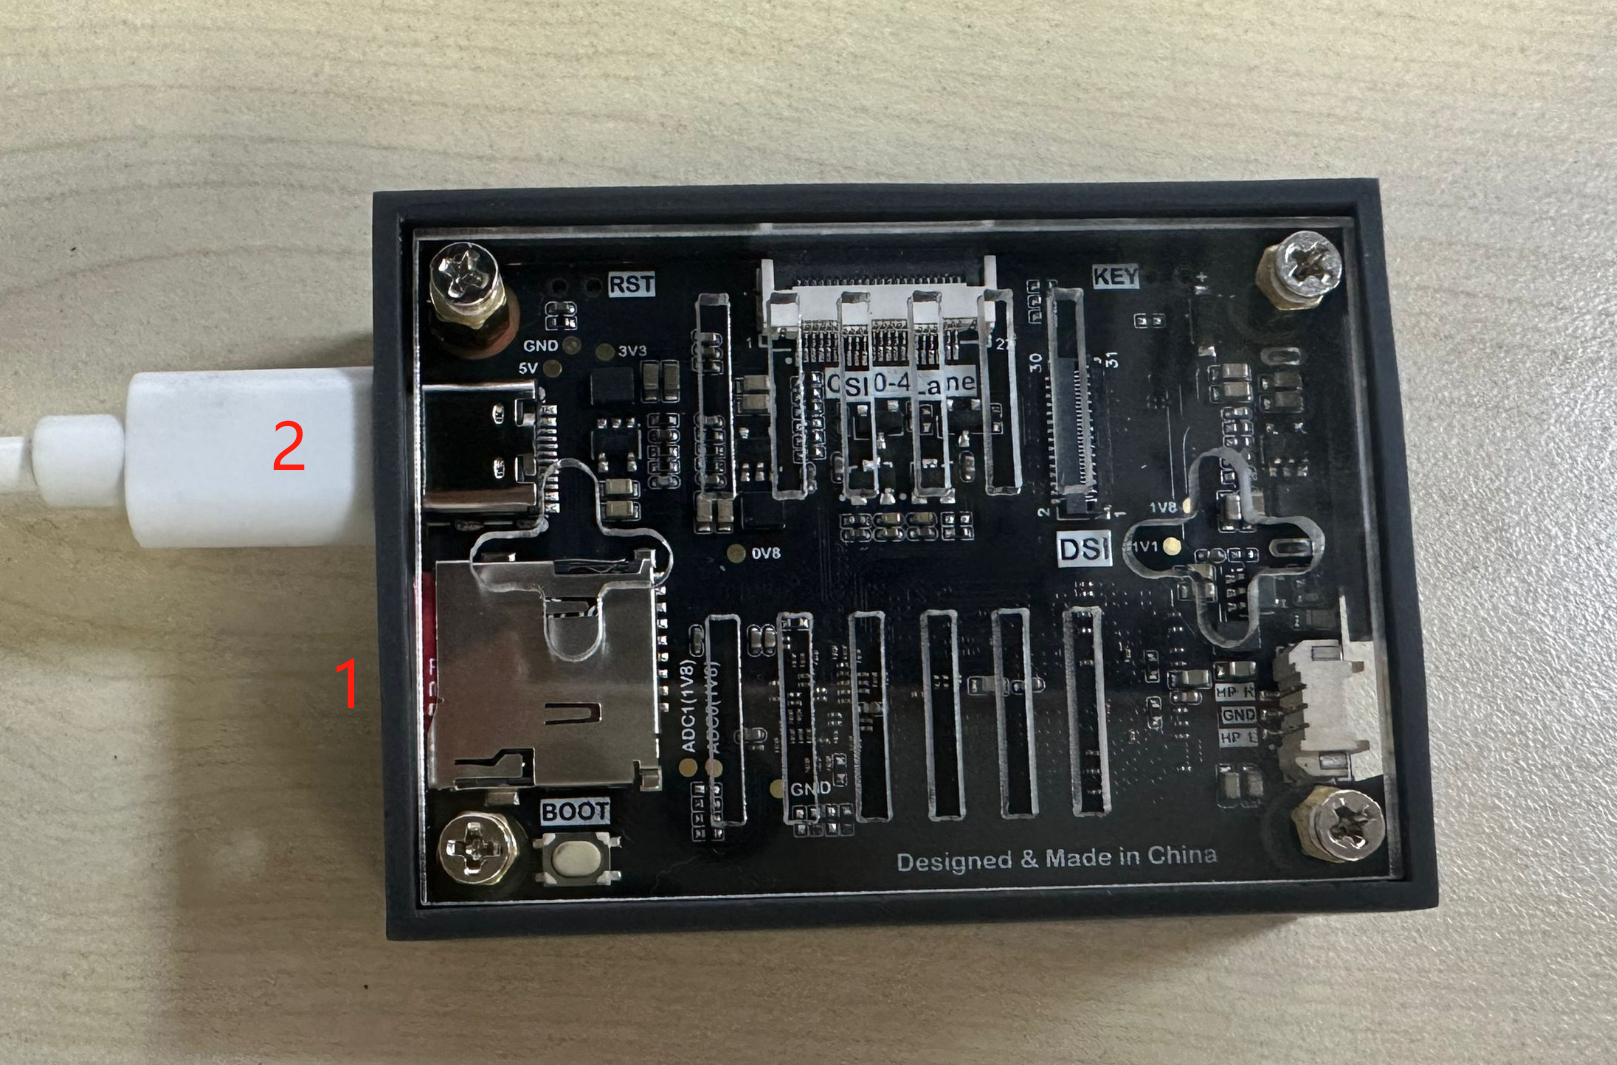
Insert the burned SD card into the 01 Technology CanMV K230 development board, and then connect it to the computer via a type-c cable. (Note: Do not unplug or plug the SD card while it is powered on, as there is a risk of burning it.)
- CanMV K230

- CanMV K230 mini

The CanMV drive letter pops up in my computer and the COM number appears in the device manager, indicating that the system boots normally. (If it does not appear, you can try pressing the reset button of the development board.)

