获取天气信息(API)
前言
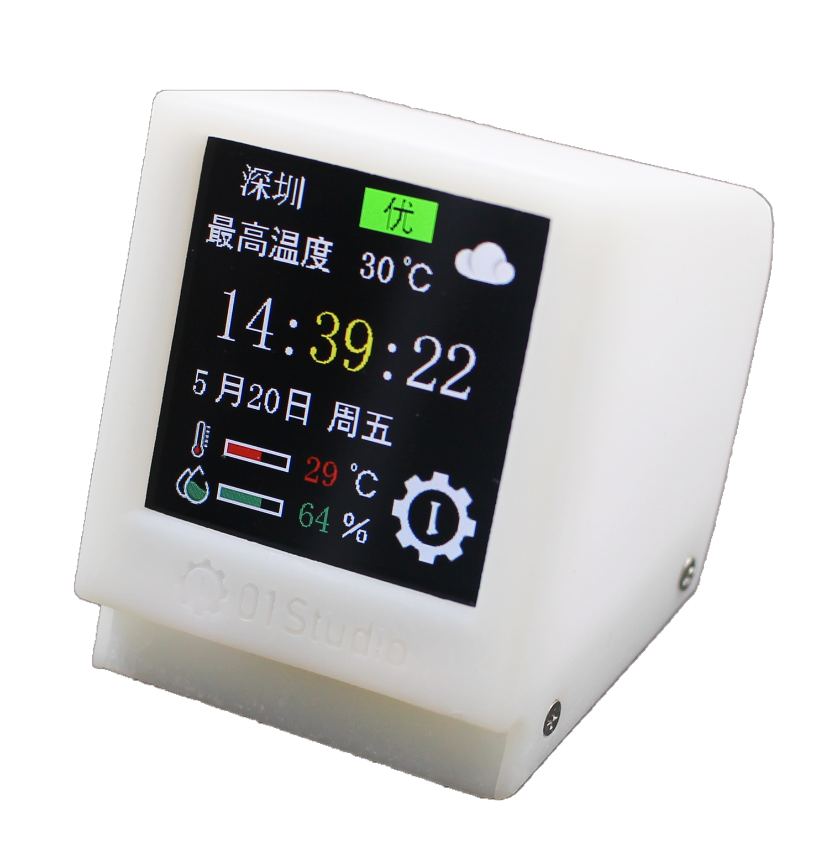
pyClock天生是为了天气时钟而设,获取天气方式很多,可以通过网页爬虫或特定天气服务商提供的API接口来实现。为此01Studio搭建了一个天气信息服务器API接口,通过简单的socket通讯即可获取全国2000多城市天气信息。
实验目的
编程实现pyClock通讯获取城市天气信息。
实验讲解
本节用到socket,可参考前面Socket通讯>>章节内容,这里不再重复。
01Studio城市天气API
服务器地址:weather.01studio.cc端口:10241
发送格式:
发送内容为json字符串,包含城市名称、城市编码、产品信息、chip_id、软件版本号。
例:深圳
{
'city':'深圳',
'citycode': '101280601',
'product':'pyClock',
'chip_id':'7c:df:a1:d1:bb:00',
'version':'2.5.0'
}
返回信息:
返回当前城市9个天气信息,格式为json。
例:
{
"当日天气": "多云",
"当日最低温": "26",
 "当日最高温": "33",
 "实时天气": "多云",
 "实时空气质量": "23",
 "实时风向": "北风",
 "实时风力级数": "1",
 "实时温度": "27.8",
 "实时湿度": "78"
 }
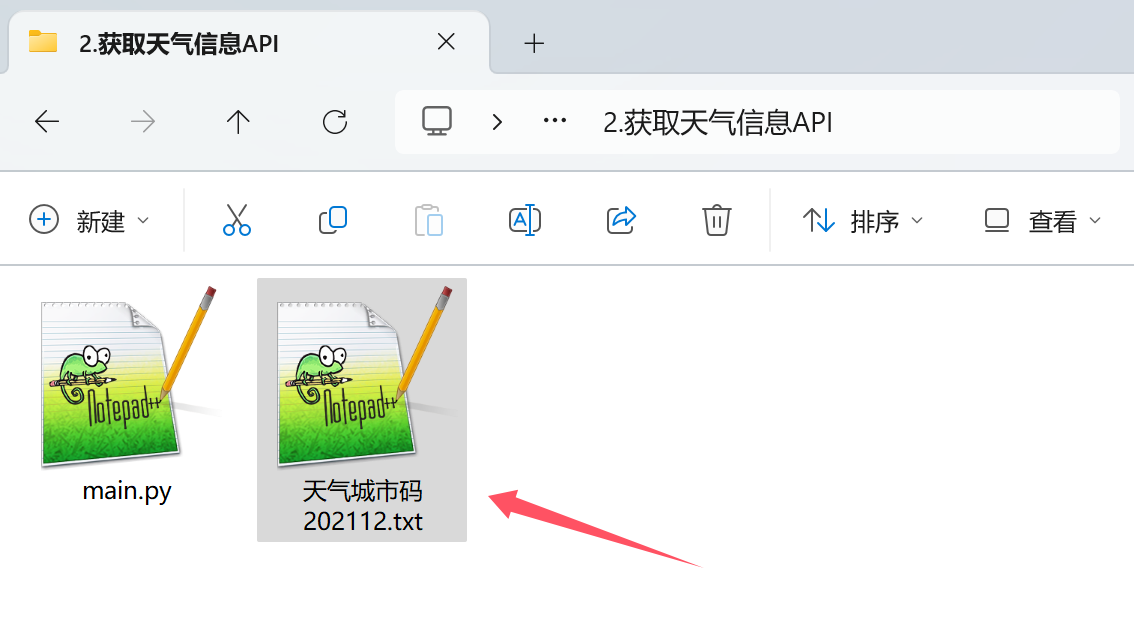
全国城市编码表可以在本节例程文件夹里面找到。
熟悉了天气API接口格式后,我们本节通过来获取一下某个城市的天气信息,编程思路如下:
参考代码
'''
# Copyright (c) [2025] [01Studio]. Licensed under the MIT License.
实验名称:获取某个城市天气信息
作者:01Studio
说明:通过Socket通讯从01Studio天气服务器获取深圳的天气信息。
不同城市编码可参考 “天气城市码202112.txt”
'''
#导入相关模块
import network, usocket, time, machine, json
from machine import Pin,Timer
#WIFI连接函数
def WIFI_Connect():
global mac_str
WIFI_LED=Pin(2, Pin.OUT) #初始化WIFI指示灯
wlan = network.WLAN(network.STA_IF) #STA模式
wlan.active(True) #激活接口
start_time=time.time() #记录时间做超时判断
if not wlan.isconnected():
print('Connecting to network...')
wlan.connect('01Studio', '88888888') #输入WIFI账号密码
while not wlan.isconnected():
#LED闪烁提示
WIFI_LED.value(1)
time.sleep_ms(300)
WIFI_LED.value(0)
time.sleep_ms(300)
#超时判断,15秒没连接成功判定为超时
if time.time()-start_time > 15 :
print('WIFI Connected Timeout!')
wlan.active(False) #反激活WiFi
break
if wlan.isconnected(): #连接成功
#LED点亮
WIFI_LED.value(1)
#串口打印网络IP等信息
print('network information:', wlan.ifconfig())
return True
else:
return False
#获取天气信息
def weather_get():
#获取Chip_ID(即MAC地址),并转换为十六进制字符串格式
chip_id_str = ':'.join([f"{b:02x}" for b in machine.unique_id()])
print('chip id: ', chip_id_str)
#要发送给服务器数据
send_info = {
'city':'深圳',
'citycode': '101280601',
'product':'pyClock',
'chip_id':chip_id_str,
'version':'2.5.0'
}
send_info_str = json.dumps(send_info) #转成json字符串
try:
# 创建socket对象
s=usocket.socket()
#域名解析
addr_info = usocket.getaddrinfo('weather.01studio.cc', 10241)
addr = addr_info[0][-1]
#连接服务器
s.connect(addr)
# 设置接收超时时间为30秒
s.settimeout(20.0)
# 发送数据
s.send(send_info_str)
data = s.recv(256)
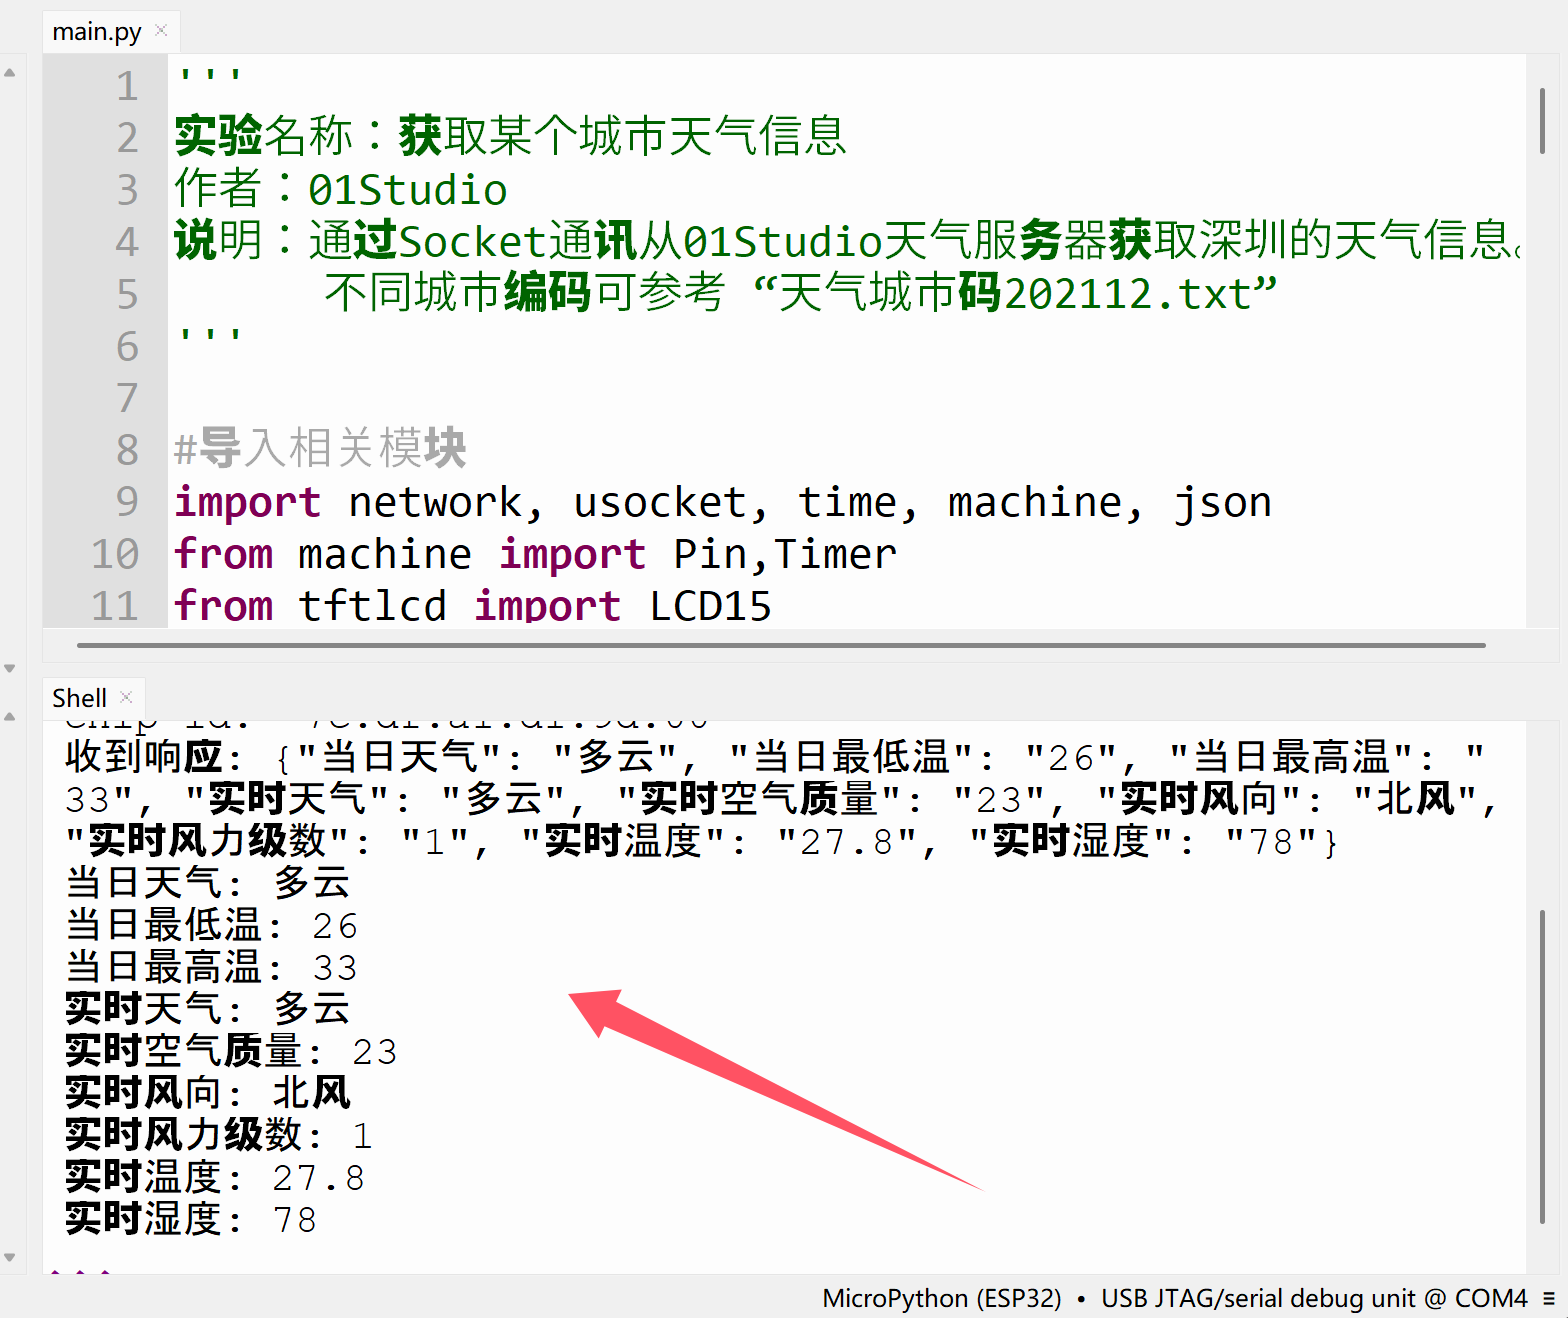
print('收到响应:', data.decode('utf-8'))
#json转成数组
rev_data = json.loads(data.decode('utf-8'))
weather = [
rev_data['当日天气'],
rev_data['当日最低温'],
rev_data['当日最高温'],
rev_data['实时天气'],
rev_data['实时空气质量'],
rev_data['实时风向'],
rev_data['实时风力级数'],
rev_data['实时温度'],
rev_data['实时湿度'],
]
print('当日天气:',weather[0])
print('当日最低温:',weather[1])
print('当日最高温:',weather[2])
print('实时天气:',weather[3])
print('实时空气质量:',weather[4])
print('实时风向:',weather[5])
print('实时风力级数:',weather[6])
print('实时温度:',weather[7])
print('实时湿度:',weather[8])
# 关闭socket连接
s.close()
except Exception as e:
print('error:', e)
try:
s.close()
except:
pass
if WIFI_Connect(): #WiFi连接成功
weather_get() #获取天气信息
将上面代码中的:
wlan.connect('01Studio', '88888888') #输入WIFI账号密码
改成自己的无线路由器账号密码,只支持2.4G信号。不支持5G或者2.4G&5G混合信号。
实验结果
运行代码,可以看到pyClock成功从01Studio服务器获取深圳的天气信息并在终端显示。