圆形检测
前言
本节学习的是对图像中的圆形进行检测识别。
实验目的
通过编程实现CanMV K230对图像中的圆形进行检测识别,并画图指示。
实验讲解
CanMV集成了圆形识别find_circles函数,位于image模块下,因此我们直接将拍摄到的图片进行处理即可,那么我们像以往一样像看一下圆形识别函数相关说明,具体如下:
find_circles对象
构造函数
image.find_circles([roi[, x_stride=2[, y_stride=1[, threshold=2000[, x_margin=10[, y_margin=10
                    [, r_margin=10[, r_min=2[, r_max[, r_step=2]]]]]]]]]])
找圆函数。返回一个image.circle圆形对象,该圆形对象有4个值: x, y(圆心), r (半径)和magnitude(量级);量级越大说明识别到的圆可信度越高。
参数说明:
roi: 识别区域(x,y,w,h),未指定则默认整张图片。threshold: 阈值。返回大于或等于threshold的圆,调整识别可信度。x_stridey_stride: 霍夫变换时跳过x,y像素的量;x_marginy_marginr_margin: 控制所检测圆的合并;r_minr_max: 控制识别圆形的半径范围;r_step:控制识别步骤。
使用方法
直接调用该函数。(大部分参数使用默认即可,不支持压缩图像和bayer图像)
更多用法请阅读官方文档:
https://www.kendryte.com/k230_canmv/main/zh/api/openmv/image.html#find-circles
我们结合前面摄像头的应用,整理一下编程思路如下:
参考代码
'''
实验名称:圆形检测
实验平台:01Studio CanMV K230
教程:wiki.01studio.cc
说明:推荐使用320x240以下分辨率,分辨率过大会导致帧率下降。
     通过修改lcd_width和lcd_height参数值选择3.5寸或2.4寸mipi屏。
'''

import time, os, sys

from media.sensor import * #导入sensor模块,使用摄像头相关接口
from media.display import * #导入display模块,使用display相关接口
from media.media import * #导入media模块,使用meida相关接口

#3.5寸mipi屏分辨率定义
lcd_width = 800
lcd_height = 480

'''
#2.4寸mipi屏分辨率定义
lcd_width = 640
lcd_height = 480
'''

sensor = Sensor(width=1280, height=960) #构建摄像头对象,将摄像头长宽设置为4:3
sensor.reset() #复位和初始化摄像头
sensor.set_framesize(width=320, height=240) #设置帧大小,默认通道0
sensor.set_pixformat(Sensor.RGB565) #设置输出图像格式,默认通道0

Display.init(Display.ST7701, width=lcd_width, height=lcd_height, to_ide=True) #同时使用mipi屏和IDE缓冲区显示图像
#Display.init(Display.VIRT, sensor.width(), sensor.height()) #只使用IDE缓冲区显示图像

MediaManager.init() #初始化media资源管理器

sensor.run() #启动sensor

clock = time.clock()

while True:

    ################
    ## 这里编写代码 ##
    ################
    clock.tick()

    img = sensor.snapshot() #拍摄一张图片

    # 圆形类有 4 个参数值: 圆心(x, y), r (半径)和 magnitude(量级);
    # 量级越大说明识别到的圆可信度越高。
    # `threshold` 参数控制找到圆的数量,数值的提升会降低识别圆形的总数。
    # `x_margin`, `y_margin`, and `r_margin`控制检测到接近圆的合并调节.
    # r_min, r_max, and r_step 用于指定测试圆的半径范围。
    for c in img.find_circles(threshold = 2000, x_margin = 10, y_margin= 10,
                              r_margin = 10,r_min = 2, r_max = 100, r_step = 2):
        #画红色圆做指示
        img.draw_circle(c.x(), c.y(), c.r(), color = (255, 0, 0),thickness=2)

        print(c) #打印圆形的信息

    #Display.show_image(img) #显示图片

    #显示图片,仅用于LCD居中方式显示
    Display.show_image(img, x=round((lcd_width-sensor.width())/2),y=round((lcd_height-sensor.height())/2))

    print(clock.fps()) #打印FPS
实验结果
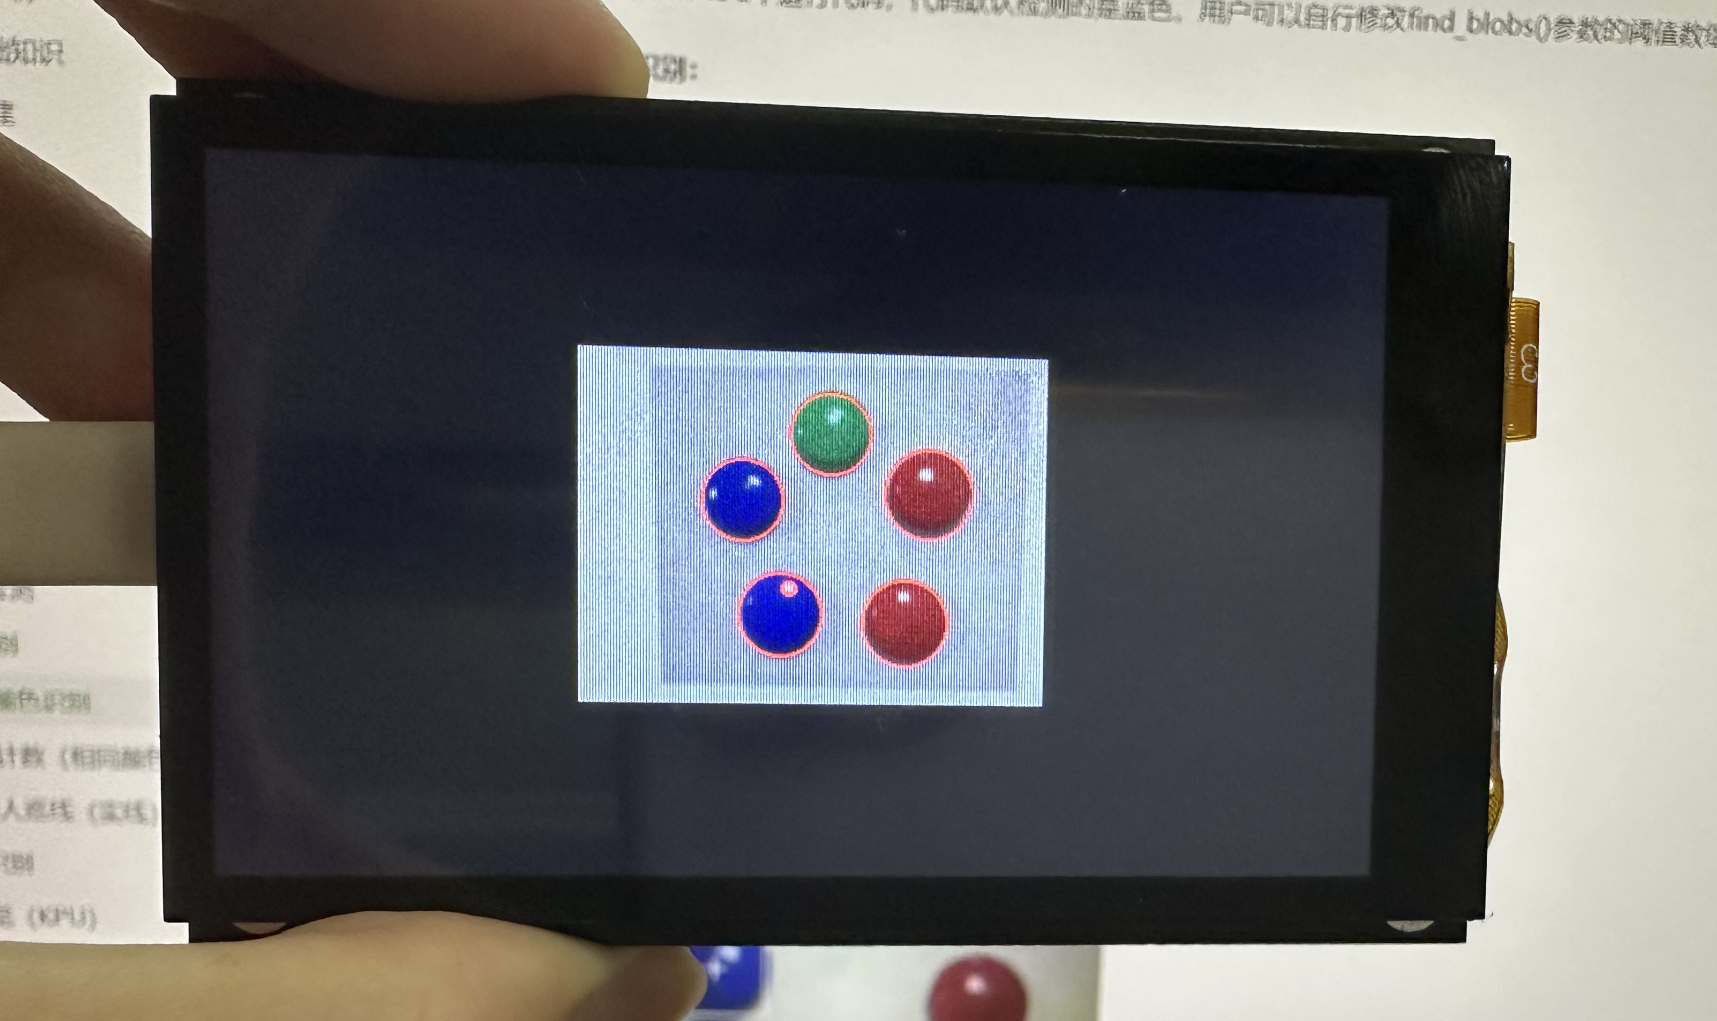
在CanMV IDE中运行代码,检测识别结果如下:
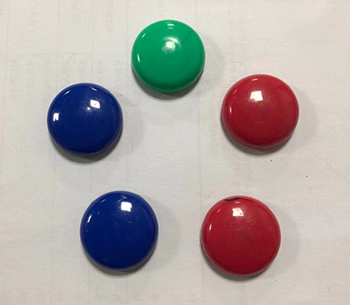
原图:

实验结果:
